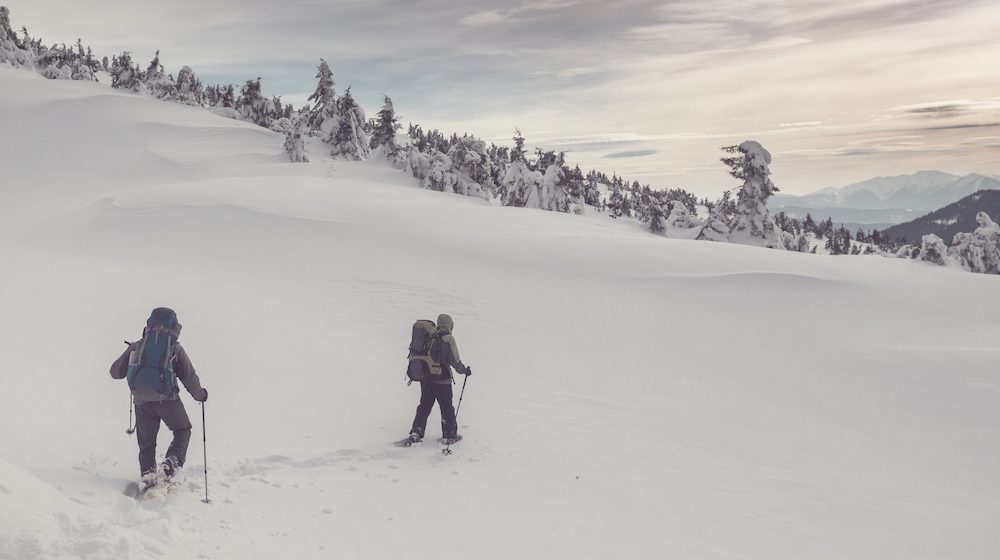
Let’s be clear – heading into the wilderness for an ultralight winter backpacking trip means making some sacrifices. These sacrifices come in the form of more weight, in exchange you get a higher probability of actually living through the trip itself. If this sounds like a good trade, read on!
NOTE: If you're looking for multi-season gear, check out our budget backpacking gear list instead.
More...
Ultralight backpacking is all about minimizing weight while still achieving the basic outcomes of a safe, enjoyable, and successful backpacking trip. Of course, the exact “number” that constitutes ultralight varies wildly based on popular opinion, time of year, geographic location, and other factors.
We’re going to avoid getting lost debating the semantics of ultralight. Instead, my goal for this article is to provide you with a lightweight packing list that can serve as a reminder for what to pack and a baseline for modification that you can use on your next trip.
With any luck, you’ll even find some of my gear recommendations to be a great fit for your next ultralight winter backpacking trip.
What Kind of Winter Camping We’re Covering
I’ll attempt with this list to achieve a list that can (with some flexibility and discretion on your part) cover temperatures from 32 degrees down to 0. Since most backpackers won’t be out in sub-zero temps I’m not going to attempt to cover them.
Keeping the temperature range to this spectrum also helps keep the list succinct. Trying to make a single list that covers a huge range of temperatures isn’t really possible anyways.
We’re also going to be talking about backpacking as a sport by itself and not mountaineering, ski touring, or other variations of winter backpack travel.
This list will assume snow conditions from 0″ up to a few feet of packed powder. I’m not intending to cover situations of bottomless powder or endless snow. Think moderate midwest winter.
Further, it is not my intention to create a single list with the lightest possible pieces of gear. Instead, I aim to balance cost, practicality, and functionality without sacrificing safety or function in winter weather.
How to Modify This List for You
No single backpacking list can be perfect for everyone. We each have different preferences, styles, needs, and the situations of each hike dictate packing details.
The most critical parts of any packing list are the safety items like shelter, clothing, and sleeping system. If these aren’t adequate, you could be in real danger.
I usually recommend to people that you do your research, make your best guess at a packing list, and then go test the gear in a safe situation.
Try testing your sleeping system in the backyard in conditions similar to what you plan to expect in the field. If something goes wrong you can go inside for the night, make some changes, and test it again.
If you don’t live somewhere with similar conditions to where you’re going, do a preliminary trip to the target destination before your main trip. Try a shorter overnight hike within a safe hike-out distance in similar conditions to what you expect to encounter on your main trip. If anything goes wrong you can fall back and retreat out of the field without needing rescue.
The Ultralight Winter Backpacking Gear List
Shelter
In the winter you can get away with nearly any shelter based on your needs. However, I’ve picked out one shelter that should hold up to almost any reasonable situation in winter backpacking.
To cover the greatest range of options I think a 4-season pyramid shelter makes the most sense. These shelters are good at handling high wind and moderate snow loads and can be set up in nearly any winter situation.
Name | Weight |
|---|---|
14.5 oz | |
2.96 oz | |
5.5 oz |
Pyramid shelters aren’t the only option, but they’re one of the lightest options that can handle snow, wind, or lack thereof with ease. They can be pitched in a dry, open pine meadow just as readily as a blustery snowy hillside.
To maximize these shelters and help them fare best during the winter season, look for already sheltered areas. While they are strong, they’re not invincible. Pitch well within treelines to help block wind and build up snow walls to shelter yourself even more if conditions become extreme.
You can save some weight and money if you get innovative with your stakes. Use snow to pack down the edges of the shelter and tie out your guylines to nearby branches, tree trunks, or rocks. If you all you have is snow, bury a stick in the snow sideways and tie off to that for an improvised snow anchor.
While it’s technically maybe not totally necessary to use a ground sheet, I think most of you will prefer it. In warmer conditions, near freezing, snow can quickly melt under your sleeping area and if you or your sleeping bag hangs over the edge of the pad, you may wake up wet.
During extremely cold temperatures it’s often just as good to sleep right on the packed snow as it is to even bother with a groundsheet.
Sleep
This sleep system should be good for the temperatures we are talking about except for the sleeping bag. You’ll need to order based on what temps you’re going into.
Name | Weight |
|---|---|
20 oz | |
26 oz | |
27.5 oz | |
0.8 oz |
Note: Depending on your needs and the situation you can use just the X-Therm or the X-Therm and Ridge Rest with the Ridge Rest on the bottom for extra insulation. In most situations we’re covering here the X Therm should suffice on its own.
Plan on gaining 10-15 degrees of sleeping warmth depending on which/how many layers you wear to bed. I usually coordinate my cold weather camping clothes and sleeping bag based on them complementing one another.
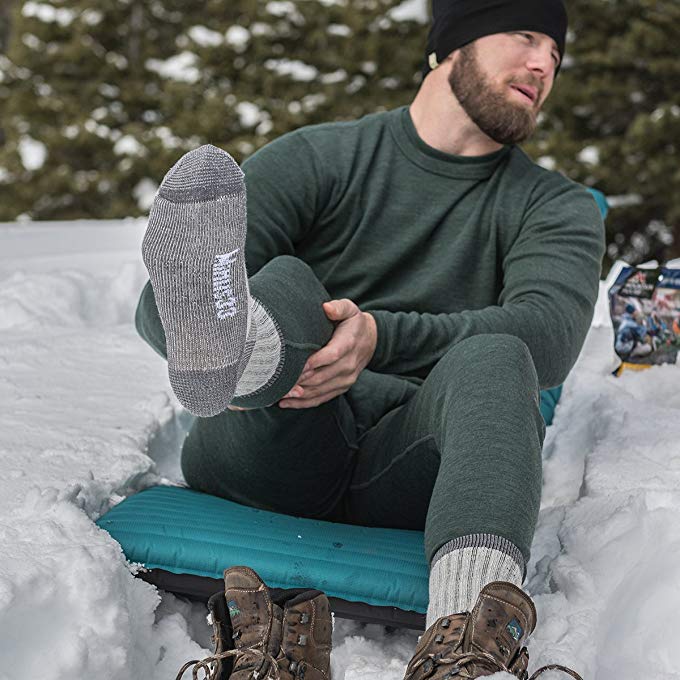
I usually carry a pair of socks at the bottom of the sleeping bag or quilt. Each night I swap the ones I was wearing for the ones in my sleeping bag. Overnight those socks dry out from body heat and become my dry sleeping socks the next night.
To pick the right temperature of sleeping bag I usually choose a bag that is at or slightly above the record low for the area I’m traveling in. Should I encounter a record low temperature, I have my sleeping bag plus all of my clothing to keep me warm through a record low night.
In the winter you may want to keep your extra layers of clothing in the sleeping bag with you. That way if you get up to use the bathroom or when you get up in the morning your clothing isn’t freezing cold!
Another trick is to keep your water bottles in the foot of your sleeping bag to prevent freezing. Sometimes you can also boil or warm up your water at dinner time and then tuck them inside your warm layers of extra clothing overnight to keep them from freezing.
Cooking
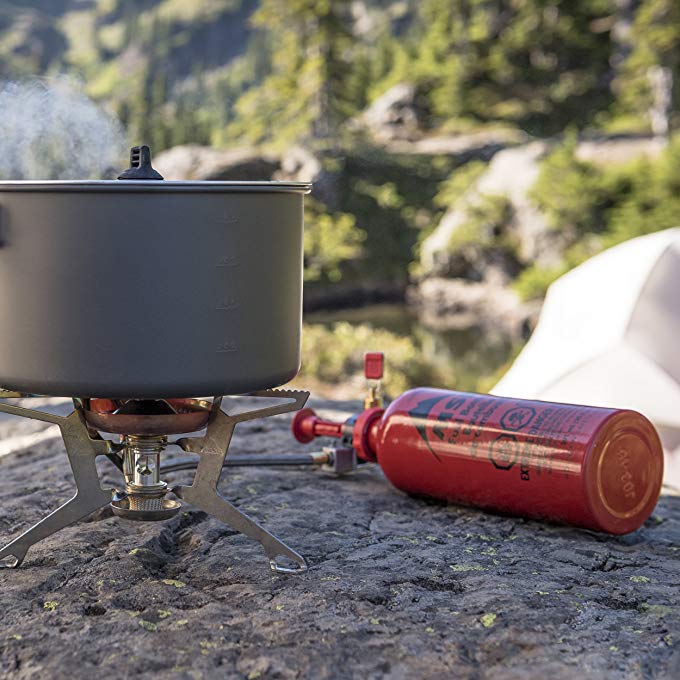
Winter temperatures can do lots of crazy things to cooking and stove efficiency. Comparing the micro-efficiency and weight differences between stove types in winter situations is not the goal of this article.
Therefore I’ll stick with recommending my personal favorite lightweight winter cooking gear.
Name | Weight |
|---|---|
11 oz | |
5.6 oz | |
1.6 oz | |
2.3 oz | |
5. Titanium Pot | 4.4 oz |
(Not needed if you have the original screen.) | 4.4 oz |
7. Mini Bic | 0.4 oz |
0.5 oz |
Note: By ultralight standards, the MSR Whisperlite is quite heavy. However, winter means that you’ll often need to heat or boil water for purification (think: melting snow) or to keep it from freezing up in your bottles!
This is not the time to try to save every ounce because if you get caught with your pants down (run out of fuel when you need it) it may quickly become a life or death situation in near-zero temperatures.
Learning water management in winter backpacking will take some experimentation and each hiker seems to eventually develop their own methods.
Pro Tip:
Be sure to put a little liquid water in your pot before melting snow or, at least pack the snow tightly against the bottom of the pot. Failing to do so will leave the metal at the bottom of the pot in contact with extremely hot flames without any water to conduct the heat away. This can mean a warped pot forever after like mine has been for years since I made this mistake.
A note about the MSR Whisperlite: this stove has been around a while and is well loved for its reliability and versatility. However, it’s imperative that you learn how to service the stove in the field.
It’s not a particularly complex mechanical object, but learning how to break it down, clean, and reassemble the parts is critical. This video from MSR will help you get started.
Carried Clothing
Name | Weight |
|---|---|
0.4 oz | |
2. Add extra/different gloves if anticipating extreme temps | -- |
6.4 oz | |
8.4 oz | |
11.7 oz | |
9.6 oz | |
3.6 oz | |
1.3 oz | |
1.1 oz |
Note: This clothing should be adapted to your exact needs. This is not a one-size-fits-all list. Dressing inappropriately for the conditions you are encountering can be extremely dangerous.
If you don’t feel comfortable choosing safe clothing or adapting our list to your needs, please take a guided winter backpacking trips with trained professionals.
I highly suggest that you edit this list based on what clothing you already have, your budget, and your travel plans. Some things to keep in mind that you’ll need are at least:
If you break it down to the components above, you can easily construct your own layering system.
Pro Tip:
Keep in mind that each layer needs to be bigger than the one underneath so you can wear them all at the same time when needed.
Worn Clothing
Name | Weight |
|---|---|
4.8 oz | |
32 oz | |
(weight unclear) | |
2.4 oz | |
1.6 oz | |
12.9 oz | |
6.8 oz | |
13.2 oz | |
(weight unclear) |
Note: We are attempting to cover approximate temperatures from 30 – 0 degrees and that means you’ll need to intelligently adapt these clothing choices to your exact needs. Depending on temperature, wind, precipitation, and your hiking speed the clothing you wear at any given time can and should change!
The clothing layers you choose to wear can be one of the hardest parts of winter backpacking. Depending on wind, temperature, how fast you’re hiking, and many other factors you may need anything from a thin long sleeve shirt to an insulated jacket.
The best advice I can give you is to start broad and narrow down. Take more than you think you need on your first trip and slowly narrow down to what works and what doesn’t work for you in each type of condition you encounter.
Water
Name | Weight |
|---|---|
3.5 oz | |
3.5 oz | |
3. Water Bottle Insulator MYOG | 3.0 oz |
Note: Water during cold weather backpacking is tricky and requires special management. It’s common for bottles to freeze overnight, while hiking, and in your pack.
This article isn’t about how to keep winter water bottles from freezing, but there are many great ideas and resources out there to learn from! Do your homework and stay safe.
Any liquid water you may find will still need to be purified properly.
In the temperature range we’re focusing on (0-30 degrees F) water management isn’t too crazy. Make no mistake though, near or below zero temperatures can wreak havoc on water. It can be a challenge just to keep your water thawed long enough to hike to your next stop and drink along the way!
Consider making or buying your own water bottle insulated cozies. You can make these pretty easily out of an old foam camping mat and some duct tape. They’ll massively extend the time your water stays liquid between heats.
Electronics
Name | Weight |
|---|---|
3.8 oz | |
2. Extra AAA Batteries | 2.5 oz / 6 pcs |
7.4 oz | |
4. Cell Phone + Charger if Needed | (weight varies) |
Note: Cold weather wreaks havoc on battery life. Keep any battery-powered devices that you want to last (which should be all of them) next to your skin or inside a jacket to extend battery life. Where this is not possible or practical, be sure to bring redundant batteries to account for the steep loss of battery life in most gear.
I personally tend to stick with the cell phone for emergency communication and navigational backup when I’m within cell range. If I’m hiking outside of cell range, depending on the difficulty of the hike, I may take a Personal Locator Beacon or a two-way communicator like the Spot Messenger.
Miscellaneous
Name | Weight |
|---|---|
1. First Aid Kit (See article) | (weight varies) |
0.7 oz | |
3. Micro Spikes | 16 oz |
2.5 oz | |
0.5 oz | |
6. Tent Repair Kit (based on the type of shelter you have) | (weight varies) |
1.5 oz | |
1.3 oz | |
0.25 oz |
Note: While you may not have to worry about bears in the dead of winter, you do still need to worry about rodents in many areas. Using a bear bag hang PCT style will do a darn good job of protecting your food (and the bags they’re in) from little shredders.
There are tons of little items that need to go in the misc. category so be sure to double check your personal list before you go.
Your first aid kit and tent repair kit should both be tailored to you.
Backpack / Carried
Name | Weight |
|---|---|
42.4 oz | |
5.4 Ounces (Use powder basket) |
Note: Due to the bulk and weight of the gear on our winter list, we can’t go with oober-lightweight summer backpacks like the Zpacks Arc Blast or Arc Haul which I would normally consider good options.
In this case, we’re going with a backpack that features a more traditional modern internal frame to handle the weight of heavier winter gear.
If you’re going to be traveling in deep and constant snow (more than 12″) then consider switching to ski poles with powder baskets or aluminum hiking poles.
Lightweight carbon fiber hiking poles, like the LT5 poles on our list, aren’t made to handle lateral stress. If your pole goes through the snow and you jerk on it (such as if you lose your balance suddenly) they can easily shatter due to the combination of stressful forces at play.
Final Notes On Lightweight Winter Camping
I did my darn best to make this list pretty universally adaptable. However, it’s possible to make this list quite a bit more accurate to each person’s individual needs.
The difference in gear that you’re going to need on a 25-degree hike with no snow on the ground in Ohio is a lot different from what you’ll need at 10 degrees with 12′ of powder in the Teton Pass (at which point you’re probably ski-touring anyways).
There is a lot of wiggle room for this list to look radically different for each person’s needs, preferences, personal choices, and situational modification. However, it should give you a good place to start from and many of you will find that without much work you can turn this ultralight winter backpacking list into a personalized packing list.
Unfortunately, winter camping will never be lightweight by summer standards. On top of that, the extremists among you will probably come up with creative solutions to the heavier objects on our list such as trail running shoes with vapor barriers and running snowshoes for ultra-winter-backpacking.
Stay safe and enjoy!


